blog, Retina imaging
Best 5 ways for retinal photography
01
Dec
Dec
Retinal Cameras
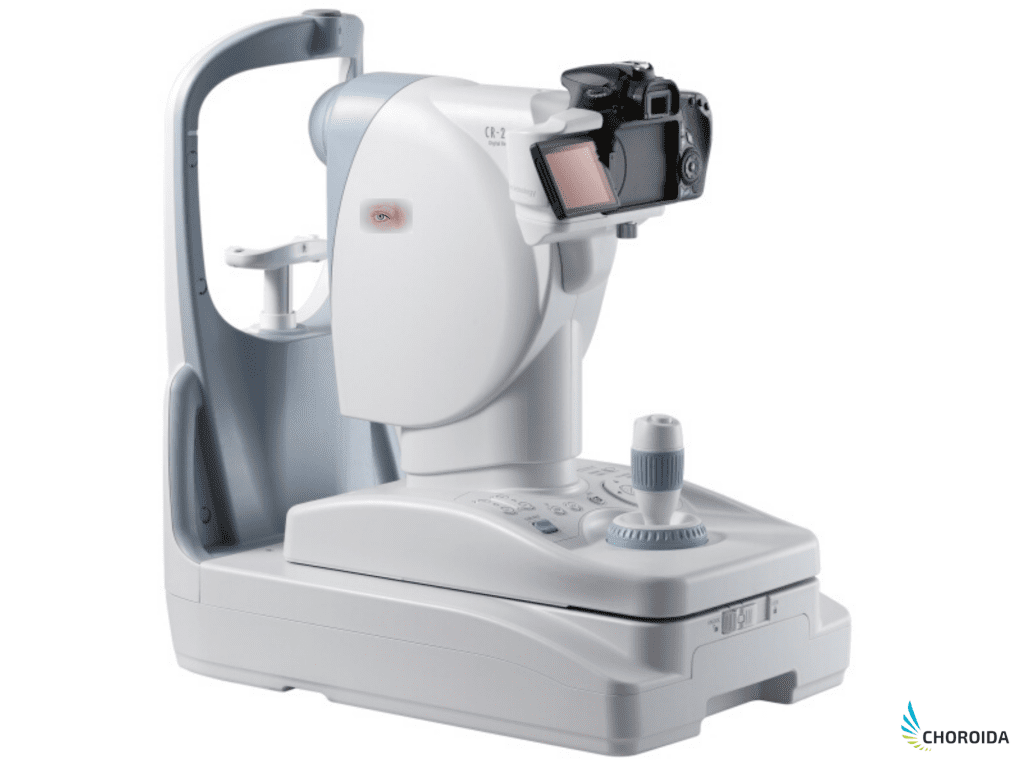
Pros
- Digital images
- High Quality
- Different modes to view different retinal areas
- Good with hazy media
Cons
- Very Expensive
- Needs DSLR Camera body to get digital images
- Not portable
- Needs skills and training
- Some types needs dilatation of pupil “Mydriatic types”
Portable retinal devices

Pros
- Portable
- Non mydriatic
- Digital images stored on the device itself
Cons
- Low quality due to lack of retinal lighting
- Expensive in compare to directophthalmoscope : starting from 2500 USD
- Very limited angle of view “15 degree”
Slitlamp + 90D Lens + adaptor + Phone

Pros
- Rely on just adaptor and your phone
- More suitable for anterior segment photography
- FOV depend on the lens used to view fundus
- Image quality range from low to high depending on phone camera quality
Cons
- Not easy to capture the best retina image while holding the lens by hand
- Not portable, depend on availability of slitlamp and adaptor

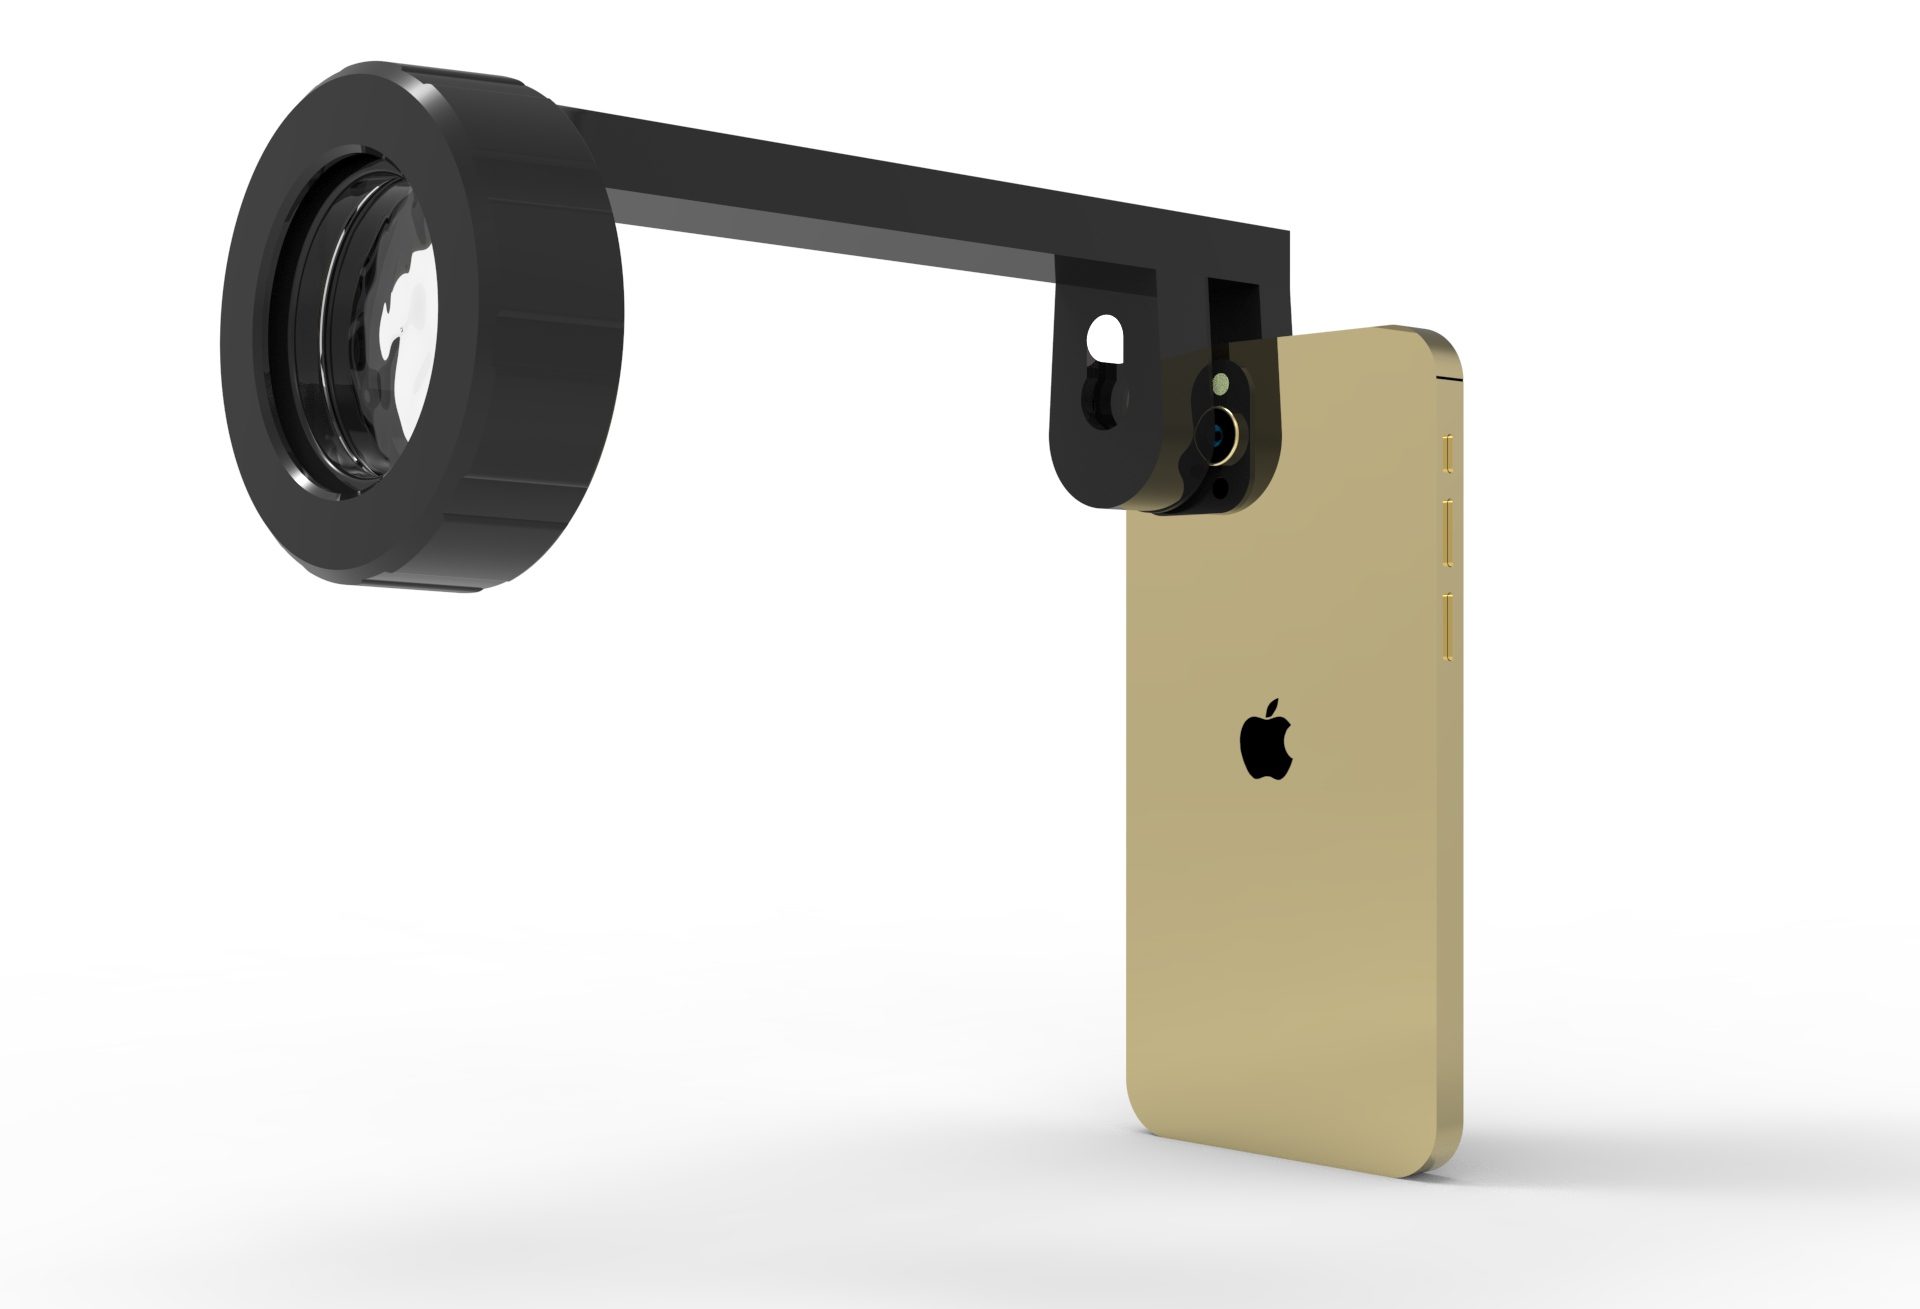
Fundus Explorer + 20D Lens + Phone
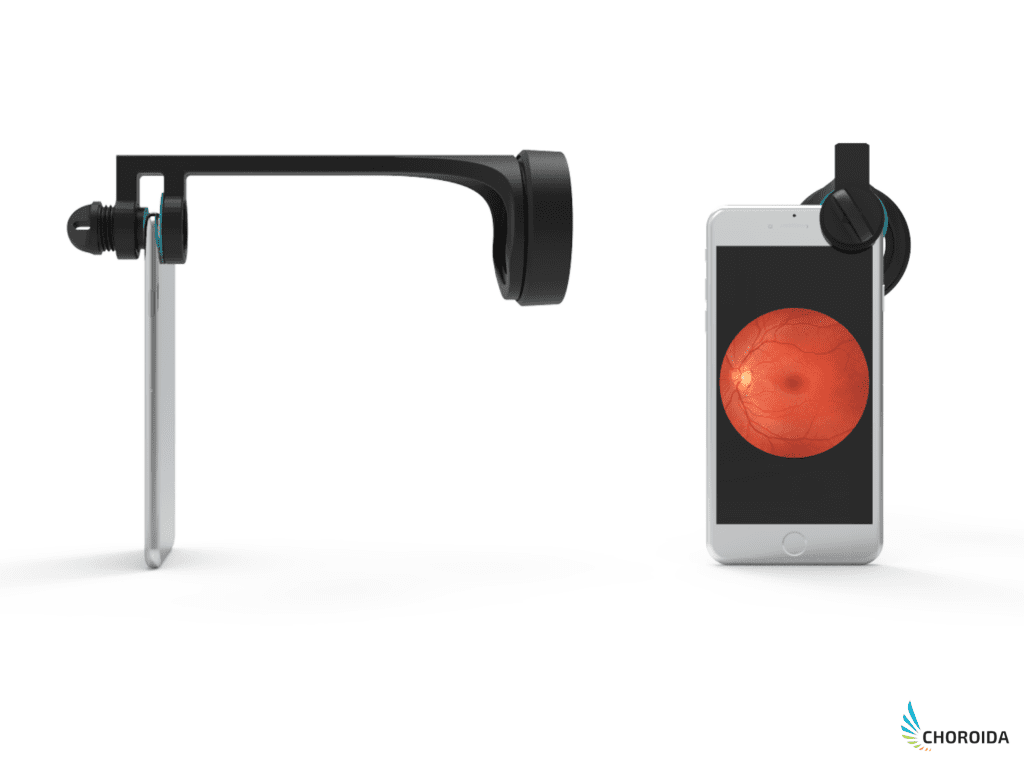
Pros
- Wide FOV “rely on indirect ophthalmoscopy technique”
- Portable
- Very easy usage
- Wide compatibility with phones “compatible with android and IOS devices”
- Wide compatibility with indirect lenses : “Volk, Heine, Ocular, Nikon, Indian”
- The Lowest cost
Cons
- Needs dilatation of the pupil