blog, Retina imaging
Testing the Fundus Explorer Pro for the First Time: A Hands-On Review
May
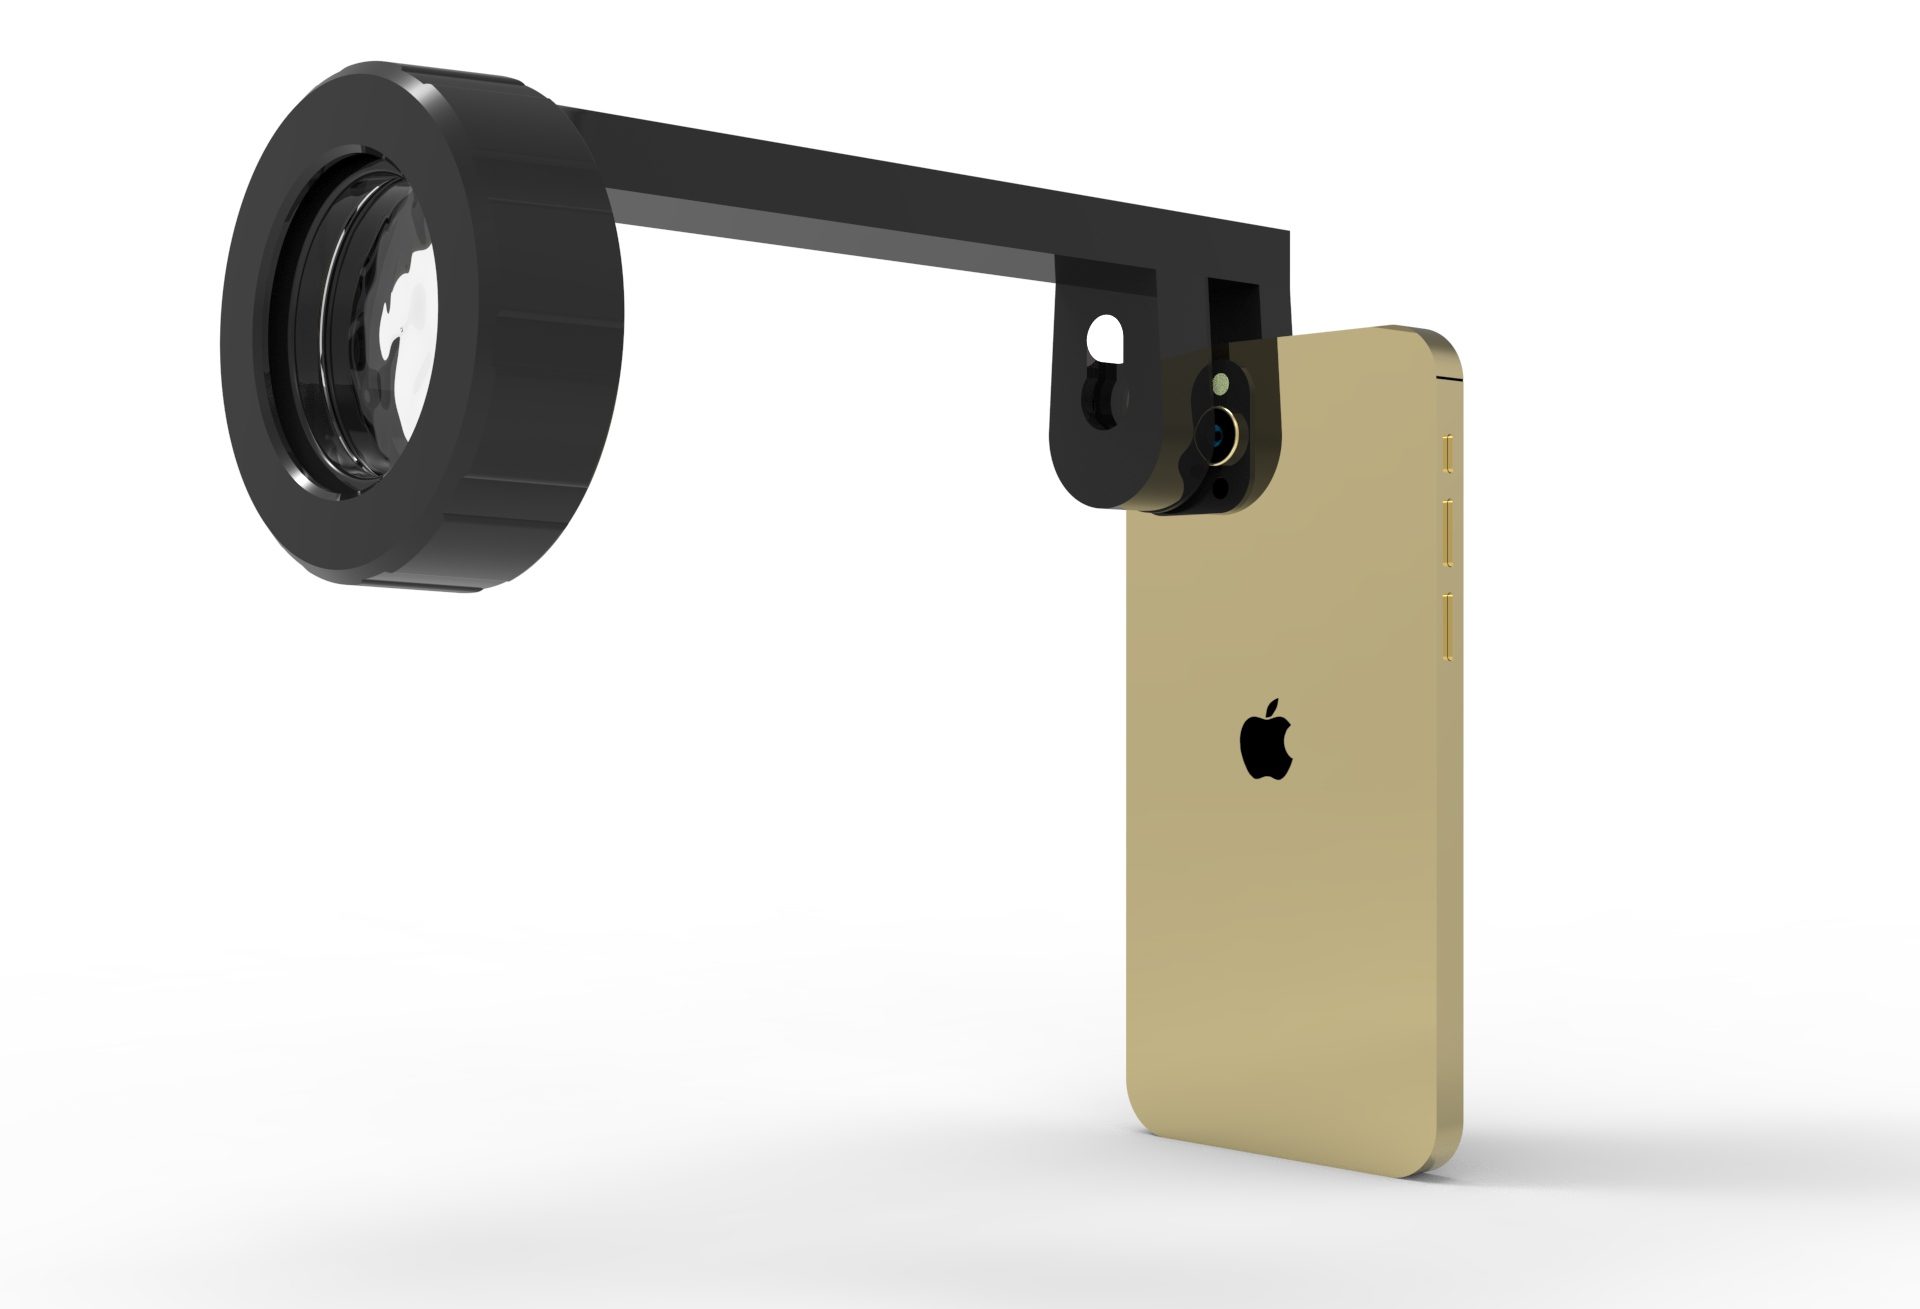
I have looked through a binocular indirect ophthalmoscope thousands of times, but I had never recorded what I was seeing. The Fundus Explorer Pro promised to fix that with a smartphone, an LED, and a 22D lens in one handheld unit. So I cleared a clinic afternoon, dilated a few volunteers, and put it through its paces. Here is exactly how that first test went.
Unboxing and first impressions
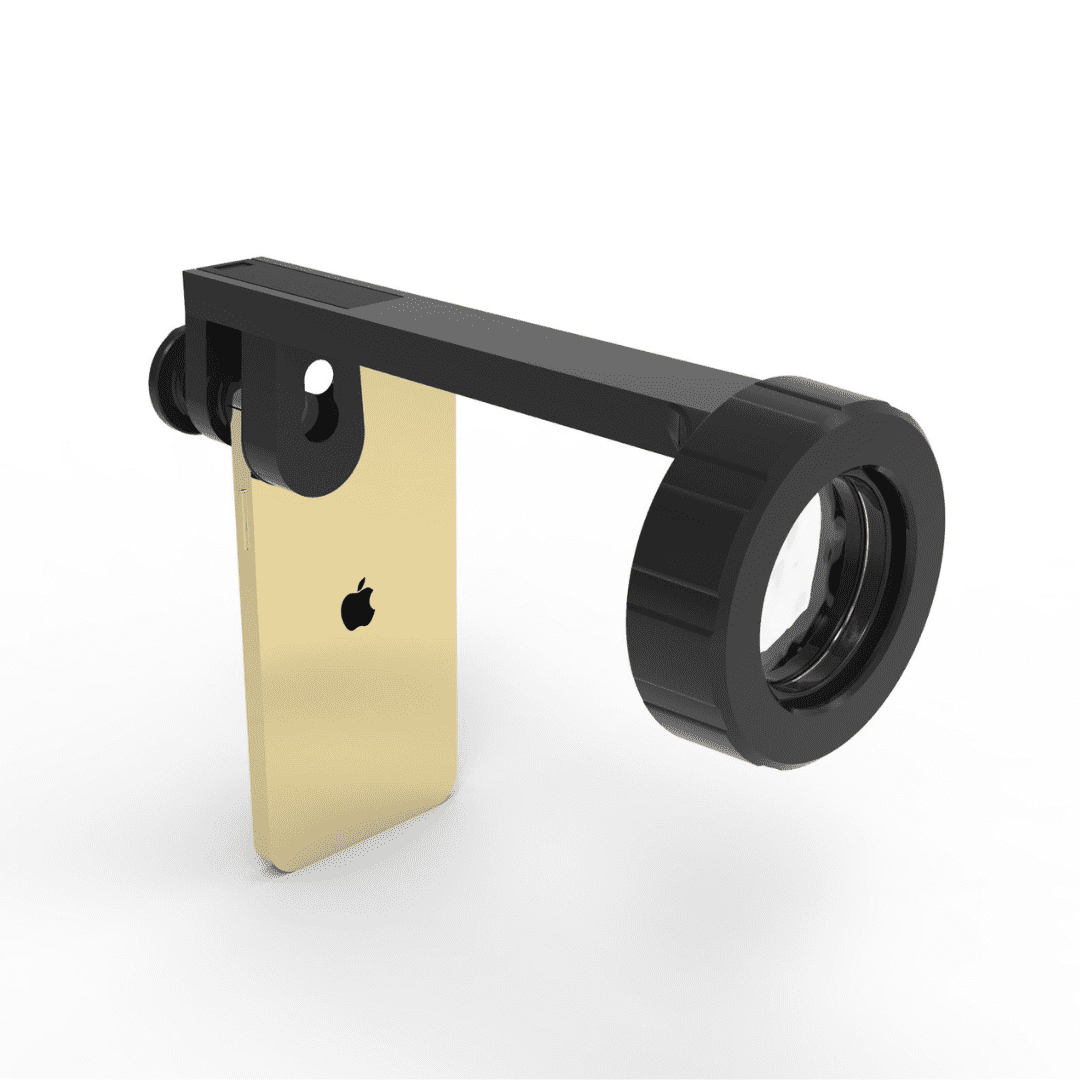
The box is heavier than I expected for a smartphone accessory — about a kilogram — and that is the first clue that this is closer to a real ophthalmic instrument than a clip-on lens. Inside: the device itself, a smartphone adapter ring, a 22D lens pre-installed on a swing arm, a charging cable, and a slim quick-start sheet.
The body is matte-black aluminium with a single dial for the LED brightness and a soft on/off button. The 22D lens screws into a removable holder, which is a thoughtful detail — it means I can swap in a Volk 20D or a Nikon 20D later without changing devices. Build quality feels solid in the hand. Nothing rattles.
|
Lens
22D (replaceable)
|
Light source
150 lm built-in LED
|
Battery
260 mAh, rechargeable
|
|
Field of view
> 60°
|
Weight
1.0 kg
|
Smartphone fit
Universal
|
Setting it up — the first three minutes
I expected calibration drama. There was none. The smartphone clamp opens on a spring and accepts anything from a slim iPhone SE up to a chunky Galaxy S24 Ultra with the case still on. You center the rear camera over the optical port, lock the clamp, and you are essentially done.
- 1Charge it.The LED needs the internal battery; it does not borrow your phone’s flashlight. Twenty minutes on the cable was enough for a full afternoon of clinic use.
- 2Mount the phone.Center the camera over the optical port, tighten the clamp. The clamp is wide enough that I did not have to remove my phone case.
- 3Open the camera in video mode.Video mode is the right starting point — it gives you a continuous feed so you can hunt for the disc before you ever press the shutter.
- 4Dial the LED.Start dim, especially on a dilated patient. You can always go brighter; you cannot un-blind someone.
- 5Find the red reflex, then the disc.Hold the device about 30–40 cm from the patient’s eye, angle slightly nasal, and the optic disc swings into frame.
“The learning curve felt closer to a phone camera than to a slit lamp — if you can find the red reflex with an indirect, you can use this device.”
The first capture
My first volunteer was a 28-year-old colleague with no known retinal pathology, dilated with one drop of tropicamide. I had read that operators sometimes spend an entire shift before they capture a usable image. That was not my experience — I had the optic disc on screen inside about ninety seconds, and a sharp still within five minutes.
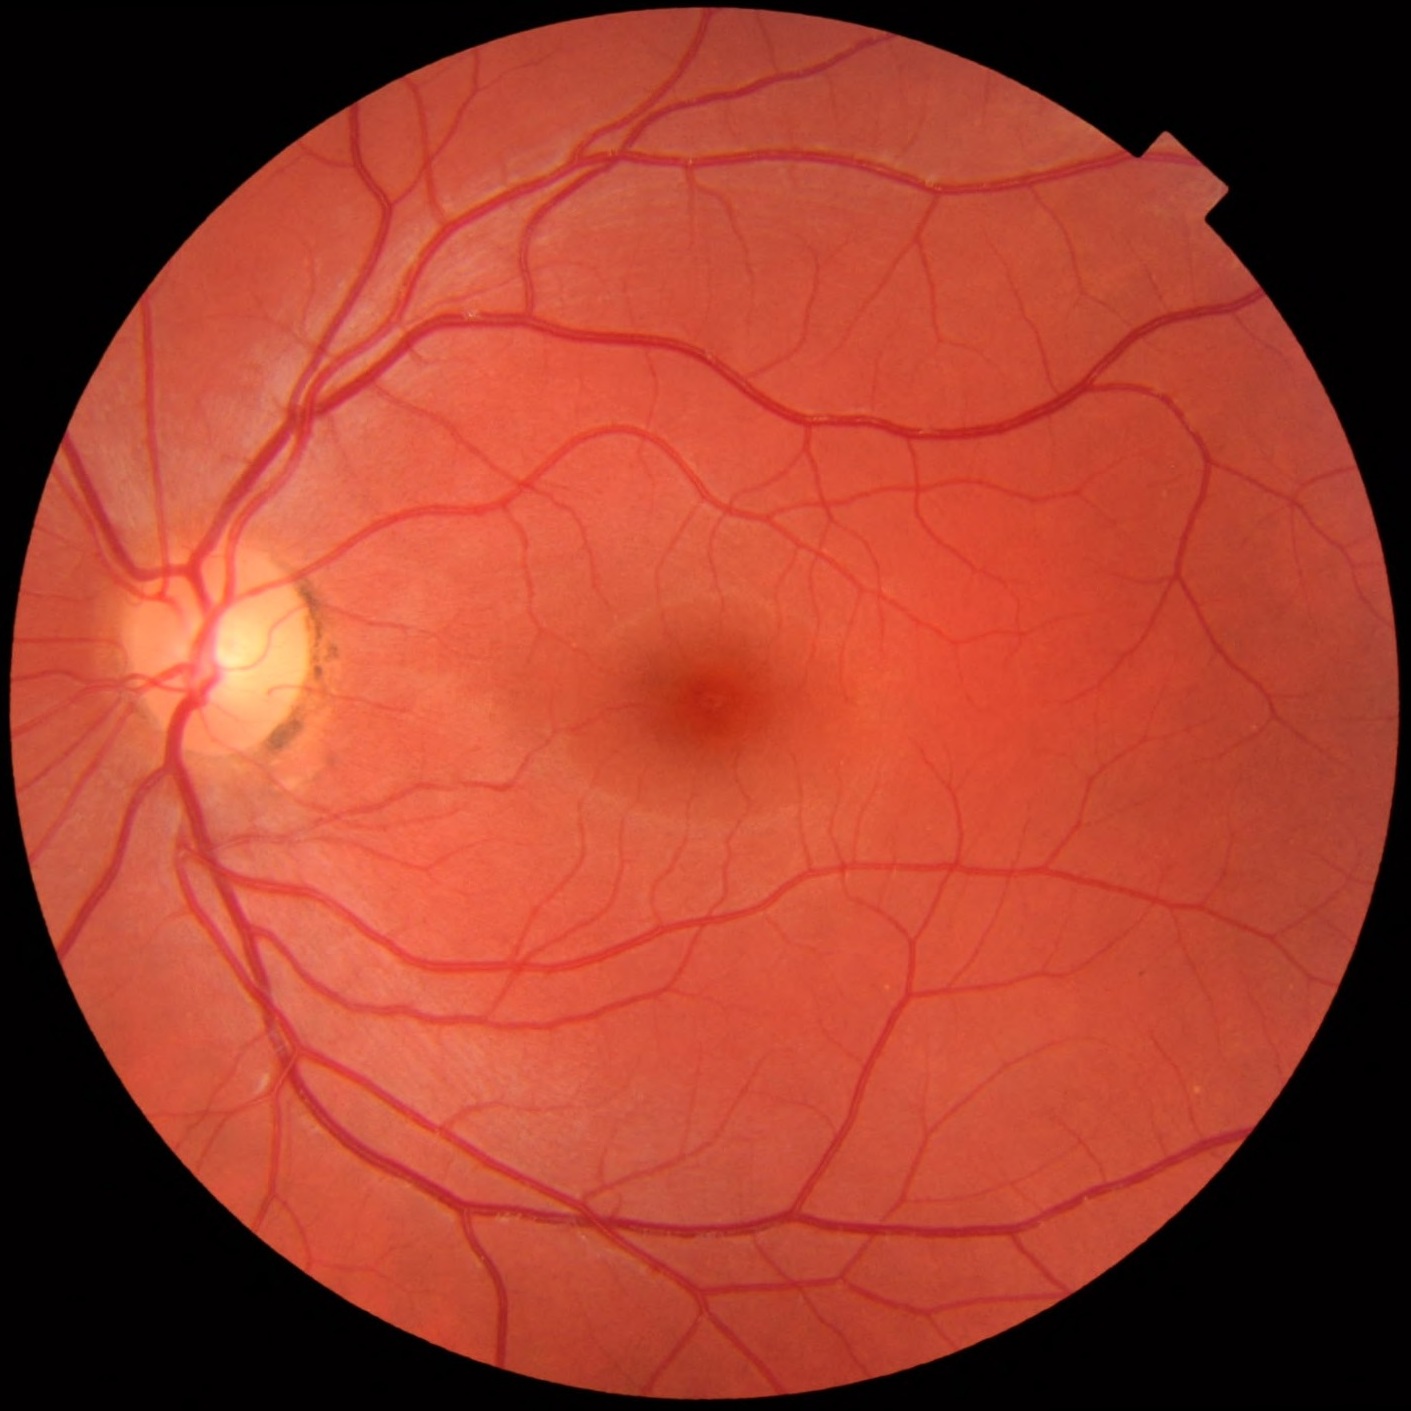
The image I captured was not the textbook color-corrected version above — my first attempt was a touch warm because I left the white balance on auto and the LED is a cool-leaning white. But the anatomical landmarks were all there: optic disc, cup, the four vascular arcades, and a clean fovea. For a first attempt, with one hand on the device and one on the shutter, I called that a win.
What worked immediately
The independent LED is the unsung hero. Smartphone flashlights produce a hot, narrow beam that causes corneal glare and fights you on focus. The dedicated 150-lumen LED on the device is dimmable, broader, and angled correctly relative to the lens. The difference between this and a phone flashlight is the difference between an indirect ophthalmoscope and pointing a torch at the eye.
The 22D lens choice is sensible for the form factor. A 20D gives you slightly more magnification but a narrower field; the 22D buys you a wider sweep, which matters when you are still learning to hunt for the disc on a small screen. Once I was comfortable, swapping in a 20D for closer disc work took about ten seconds.
What took practice
Working distance discipline. The device wants to be held in a specific cone of distance and angle. Too close and the lens fills with corneal reflection; too far and you lose the red reflex. Like indirect ophthalmoscopy, it is muscle memory — by the third patient I was not thinking about it.
Stillness during capture. Video mode is forgiving; stills are not. I switched to burst shooting and picked the sharpest frame afterwards. That is the workflow I would recommend on day one.
Clinical takeaways from the first afternoon
I tested it on three more patients that afternoon: a diabetic on screening, a glaucoma follow-up, and a child whose mother was anxious about a flashing-light history. Three observations stood out.
It earns its place in screening, not diagnosis. This is not an OCT, and it is not pretending to be. What it does brilliantly is let you walk out of the room with a documented image — for the patient record, for a referral, for a second opinion over WhatsApp. For a busy general clinic that previously relied on a hand-drawn fundus sketch, that is a meaningful jump in quality.
It is a phenomenal teaching tool. Handing the phone to a patient and showing them their own optic disc changes the conversation about why they need to come back for follow-up. Handing it to a resident in training is even better — you are no longer the only person in the room who can see what you are describing.
The video mode is underrated. Stills get the attention, but a ten-second video sweep across the posterior pole captures more information than any single frame, and it is what I now send when I want a colleague’s opinion on a lesion.
First-day verdict
|
What I liked
|
What I would change
|
Would I keep using it?
Yes — and that is the question that matters. Most gadgets get one enthusiastic afternoon and then live in a drawer. This one made it into the next morning’s clinic bag, and the morning after that. It has replaced the hand-drawn fundus sketch in my notes, and it has changed how I refer borderline cases. That is the quiet test that any new tool has to pass.
If you are a general ophthalmologist, an optometrist running a screening program, or a resident who wants documentation alongside your indirect — the Fundus Explorer Pro is one of the few smartphone fundoscopes I would put in your hand on day one and trust you to get a usable image before lunch.
Try it yourself
The Fundus Explorer Pro ships worldwide with a 6-month warranty and free returns.
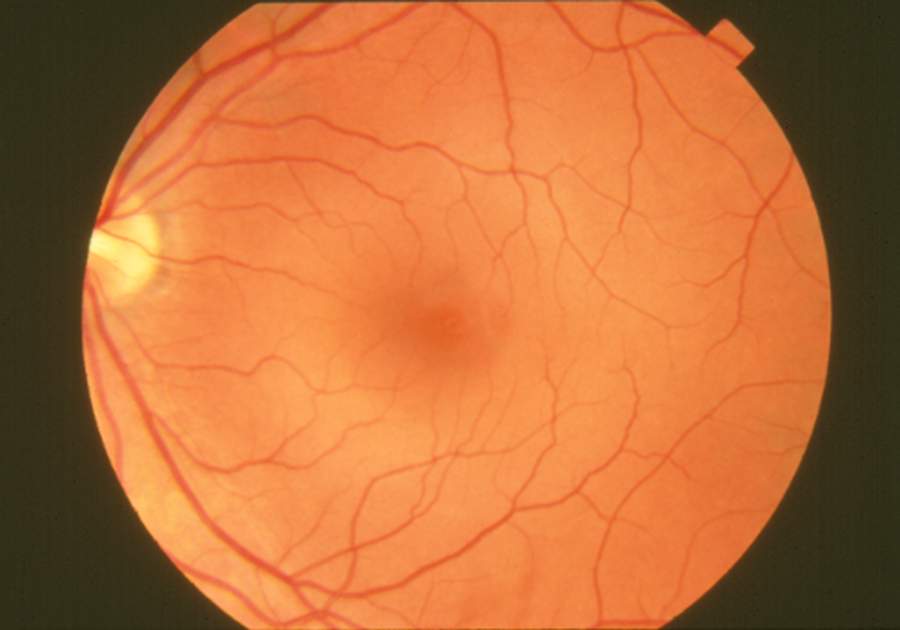
Reference fundus images courtesy of Mikael Häggström (CC0) and the National Eye Institute, National Institutes of Health (public domain). They are reproduced here as anatomical references — not as captures from the device.