
blog
Diabetic Retinopathy Screening with a Smartphone: A Practical Guide for Busy Clinics
May
More than 537 million adults worldwide live with diabetes. Roughly one in three will develop diabetic retinopathy during their lifetime — and at least one in ten will develop the vision-threatening form. Yet in busy clinics, the fundus exam is still the examination most likely to be skipped. That gap between known risk and actual examination is where preventable blindness begins.
This article is a practical guide for ophthalmologists who want to close that gap without overhauling their workflow. It covers the clinical evidence for smartphone fundoscopy as a DR screening tool, the specific technique with the Fundus Explorer Pro, what to look for in a screening image, and how to build the exam into a routine that adds under two minutes per patient.
Why DR screening still falls short in daily practice
The science of diabetic retinopathy is well understood. Annual fundus examination for every diabetic patient is the standard of care in every major guideline. The evidence that early detection prevents blindness is unambiguous. And yet screening coverage remains poor across every healthcare system, from high-income to low-resource settings alike.
The reasons are practical, not philosophical. In a clinic running fifteen to twenty patients per session, a dilated fundus examination demands dedicated equipment that is rarely at hand during a diabetic review. The slit lamp may be occupied or in a separate room. A standalone fundus camera requires its own space and a trained operator. Documentation requires dictating findings into the record. The setup cost, in time and workflow friction, is high enough that the exam gets deferred to a “dedicated diabetic eye clinic” — which the patient may or may not attend.
This is the problem that smartphone fundoscopy directly addresses. Not by replacing a comprehensive eye examination, but by making it possible to document the fundus at the same appointment as the diabetic review — with no dedicated camera, no separate equipment room, and imaging time of under two minutes once the pupil is dilated.
What the evidence says about smartphone fundoscopy for DR
The clinical literature on smartphone-based retinal imaging for diabetic retinopathy has grown substantially over the past decade. The consistent finding is that smartphone fundoscopy, when used with appropriate technique, achieves sensitivity and specificity for referable DR that is clinically acceptable for screening purposes.
Studies comparing smartphone-based imaging to standard non-mydriatic fundus cameras have reported sensitivity for any DR in the range of 85–92%, and for vision-threatening DR (severe NPDR and above) consistently above 90%. For a screening test designed to catch cases that need further evaluation, these figures support its use as a first-line tool in primary and secondary care.
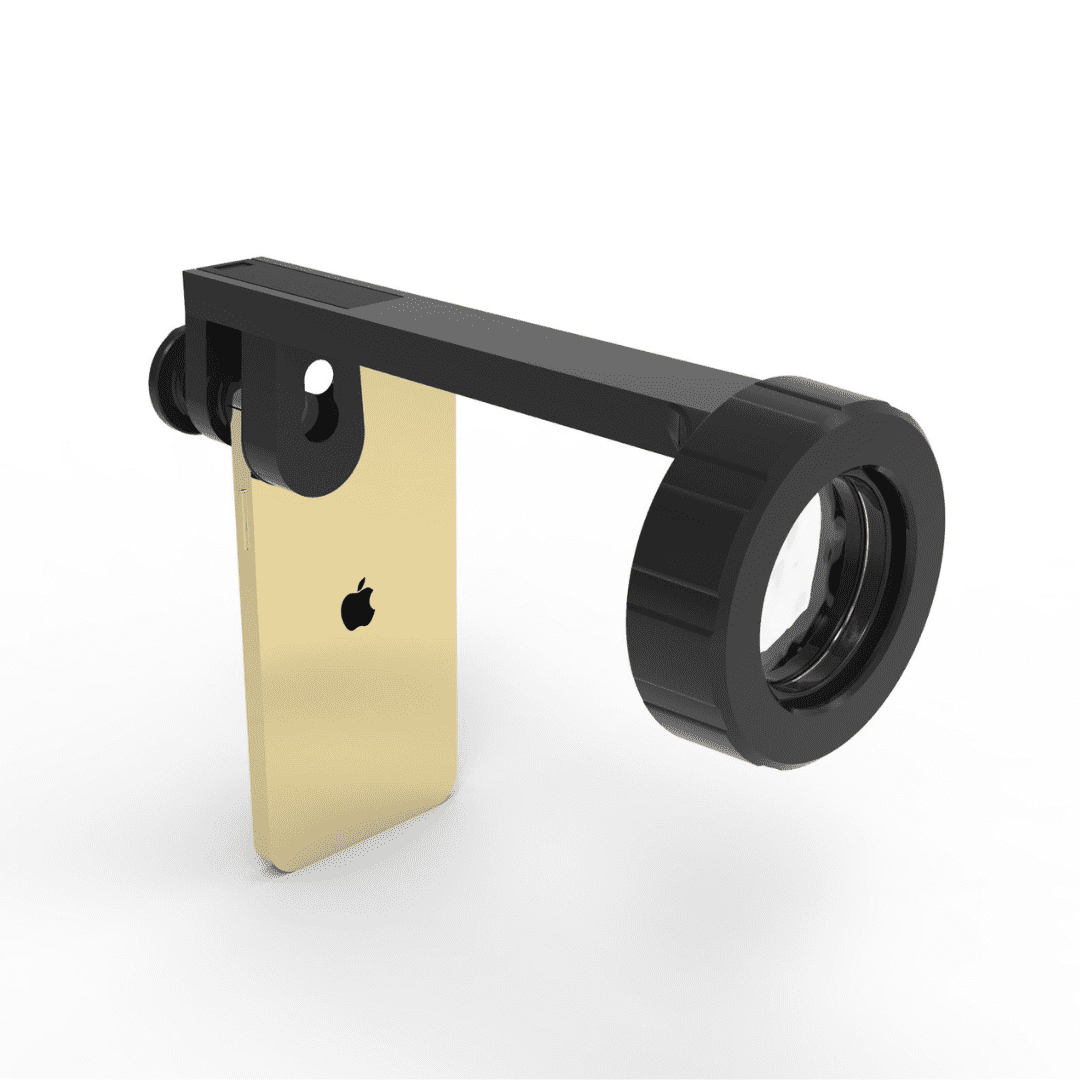
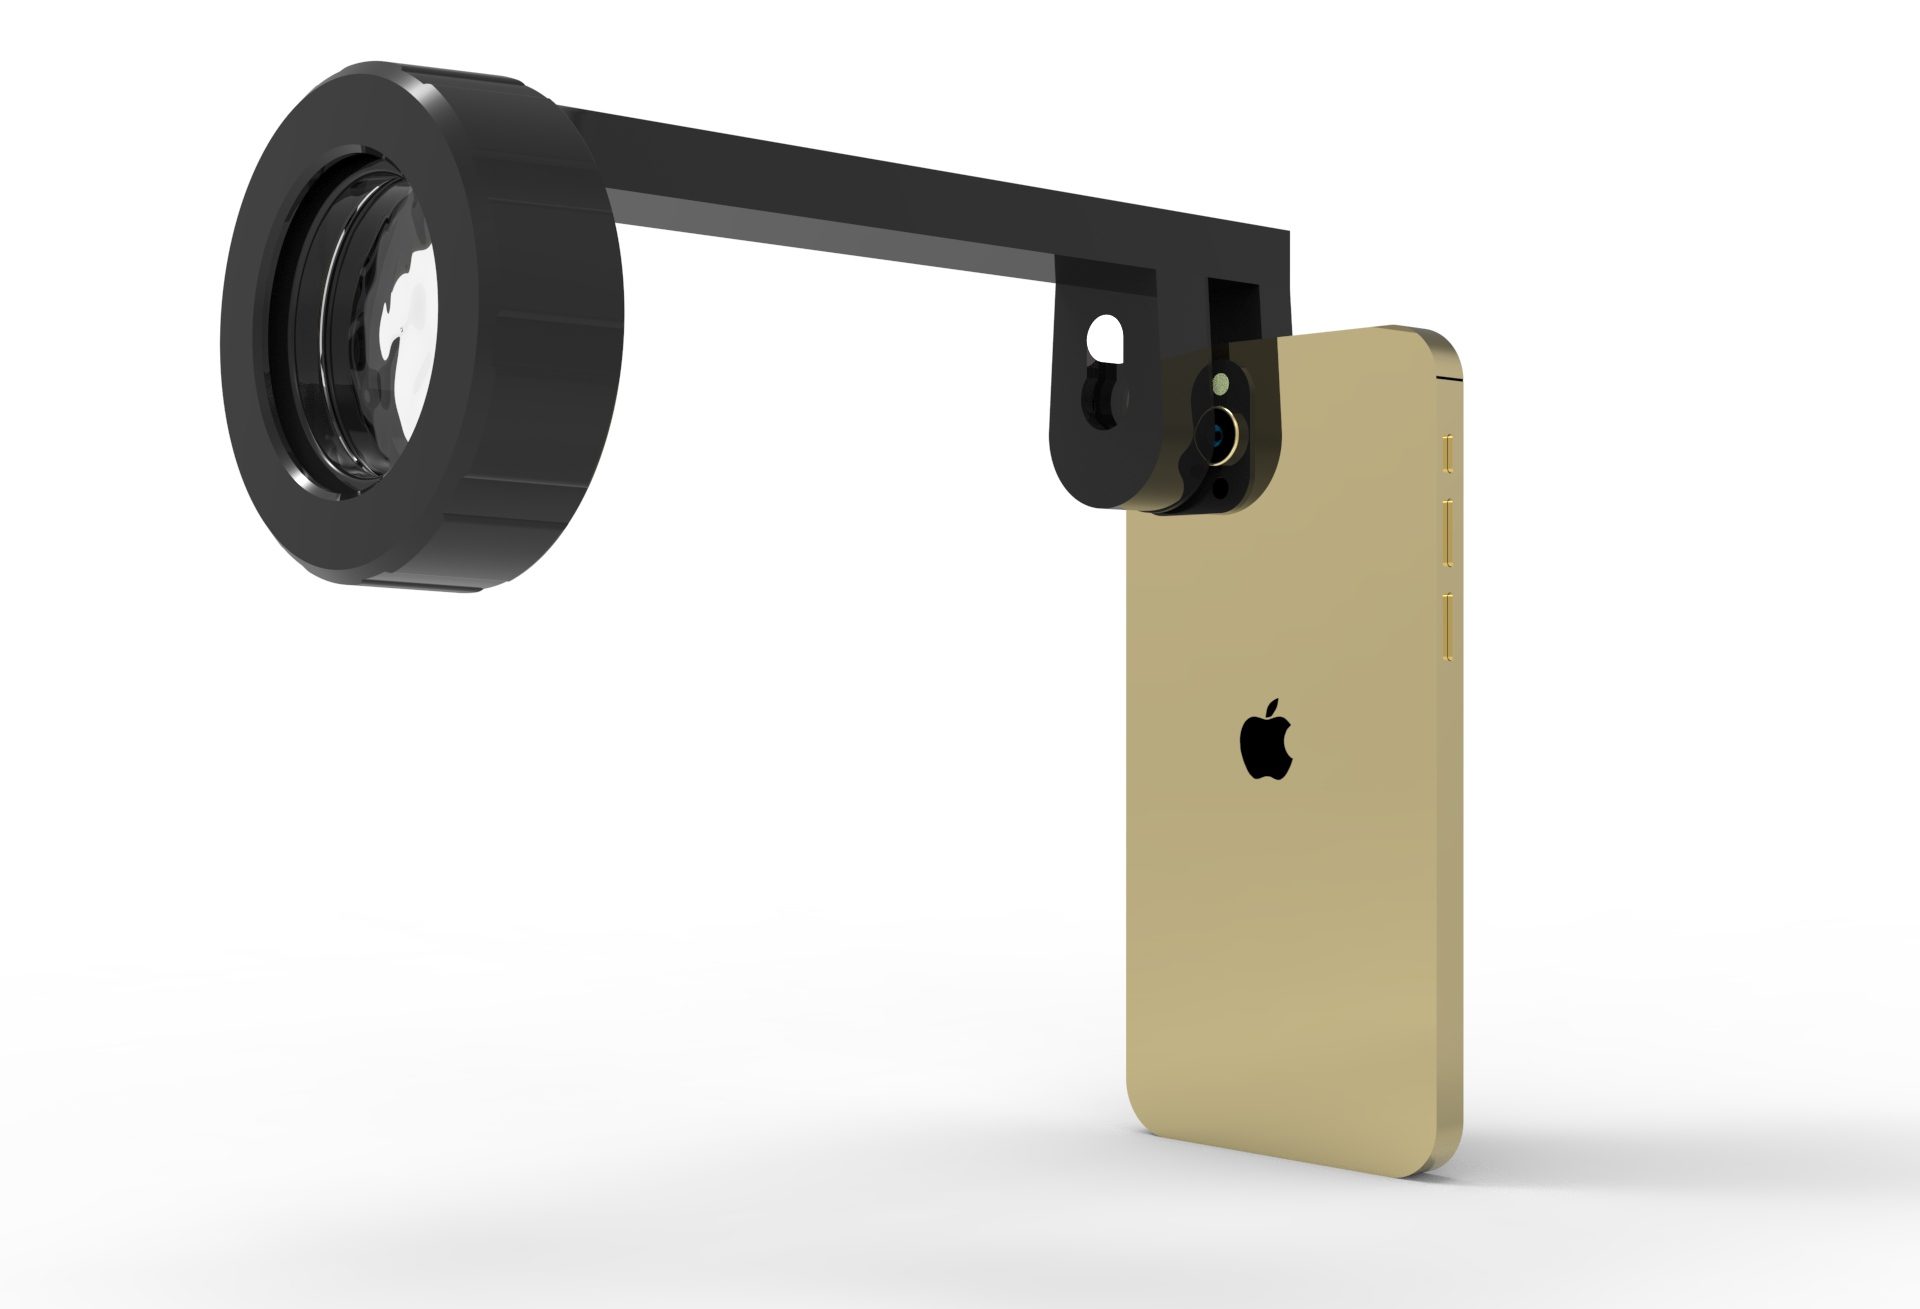
The key variables that determine image quality — and therefore screening performance — are illumination consistency, field of view, and lens quality. This is the clinical justification for the design choices in the Fundus Explorer Pro: a dedicated 150-lumen LED that does not rely on the phone’s own flash, a 22D indirect lens with a field of view exceeding 60°, and a universal clamp that keeps the optical axis aligned across any smartphone model.
|
Adults with diabetes globally
537 million
|
Develop DR during lifetime
1 in 3
|
|
Vision-threatening DR preventable
Up to 80%
|
Smartphone DR sensitivity (referable)
> 90%
|
Sources: IDF Diabetes Atlas 2021; WHO Global Report on Diabetes; published smartphone fundoscopy validation studies (2015–2024)
A practical screening workflow: step by step
The following workflow is designed for an opportunistic screening model — examining the fundus at the same appointment as the diabetic review, without pre-scheduling a separate visit. It assumes pharmacologic dilation has been applied and the pupil is adequately dilated. It targets imaging and documentation time of under two minutes once dilation is complete.
- 1Instil dilating drops and wait.Apply a standard mydriatic (e.g. tropicamide 1%) and allow 20–25 minutes for full dilation. Use this time to complete the rest of the consultation. Once dilation is adequate, dim the room before beginning imaging — reducing ambient light minimises corneal reflection and improves image clarity.
- 2Mount the device.Attach the Fundus Explorer Pro to your phone, centre the rear camera over the optical port, and tighten the clamp. The spring clamp accepts most phones with cases on. Switch the LED on and set brightness to the midpoint.
- 3Open the camera in video mode.Video gives you a continuous live feed. Ask the patient to fixate on a distant point slightly nasal to your position. Approach from about 30–40 cm until you see the red reflex, then advance steadily.
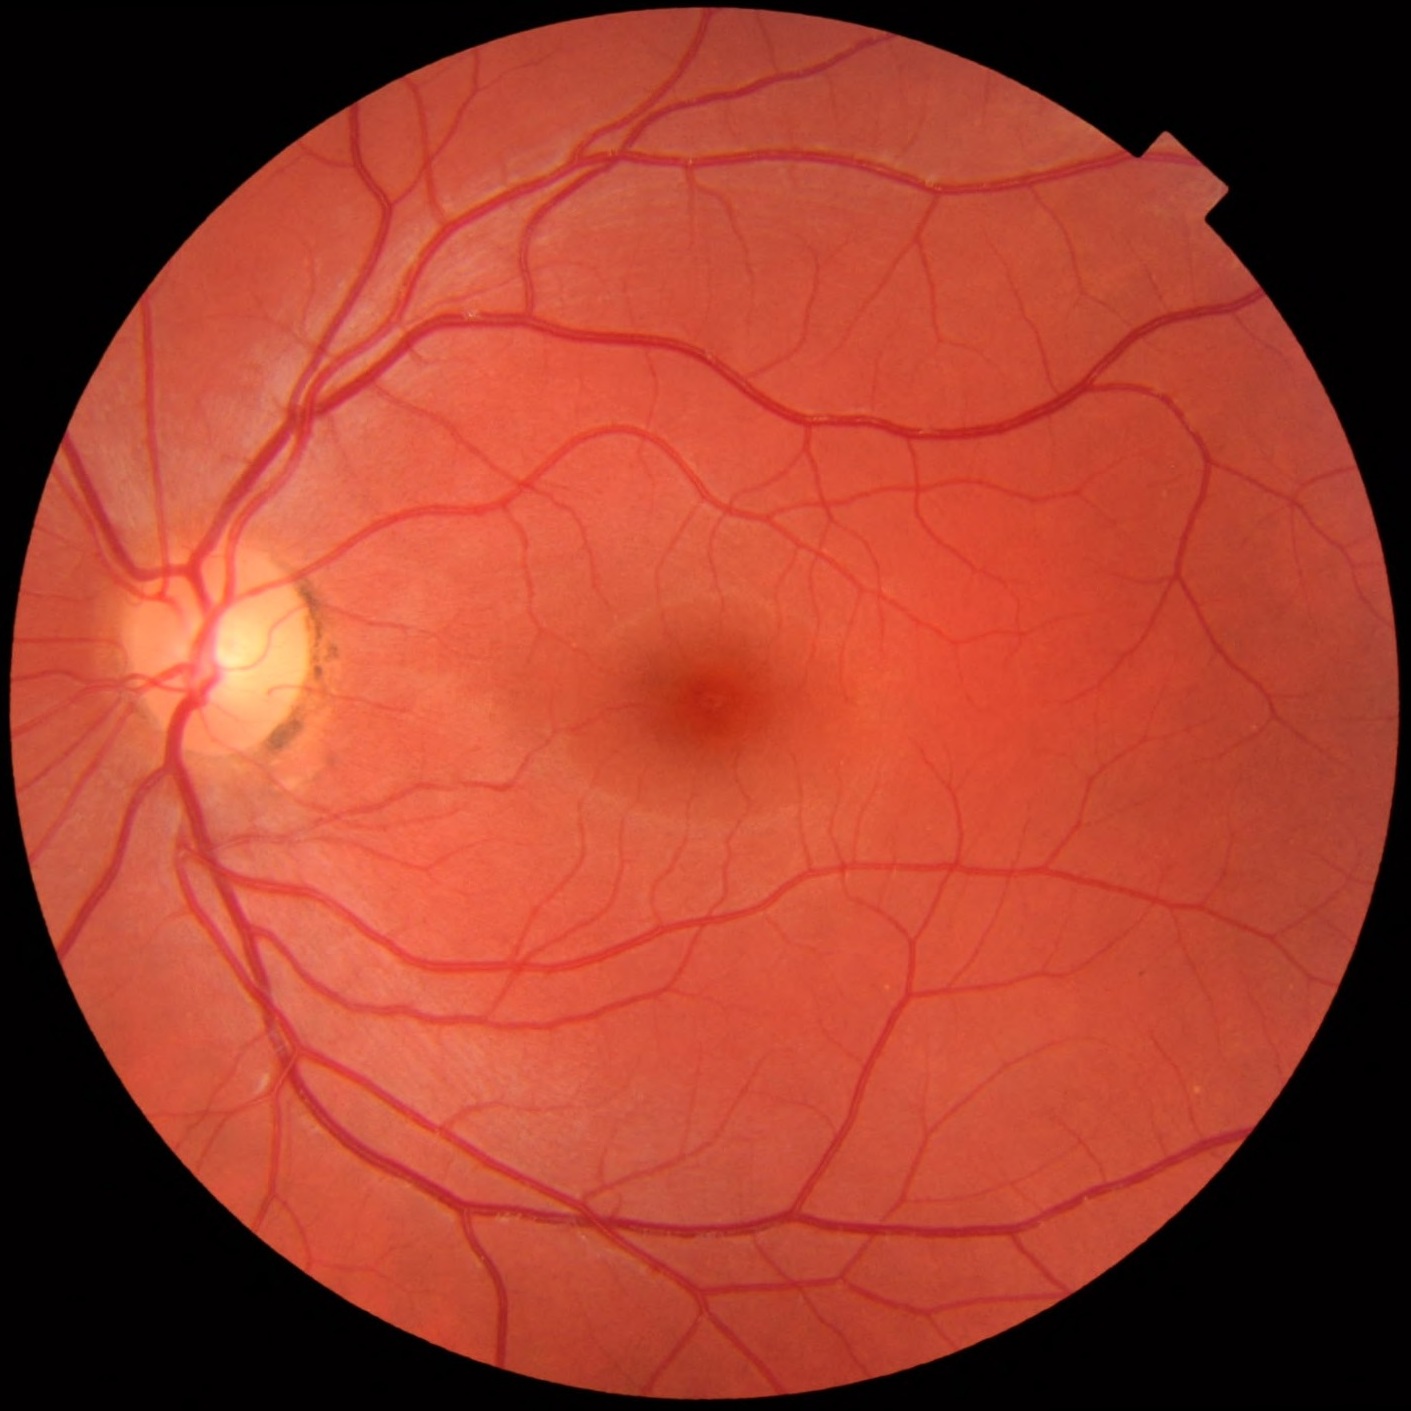
- 4Find the disc, then sweep to the macula.The optic disc appears first. Once it is centred, angle slightly temporal to bring the macula into view. For DR screening, the macula and the arcades are the primary zones of interest.
- 5Capture in burst mode, then select.Switch from video to photo, use burst or rapid-fire capture for 2–3 seconds, and pick the sharpest frame. This is faster and more reliable than a single-shot approach, especially when capturing the disc and macula across multiple fields.
- 6Save and document immediately.Transfer the image to the patient file before moving to the next patient. The image is the documentation — no separate dictation needed. Date it and note pupil size and dilation status.
What to look for: grading DR in a screening image
Smartphone fundoscopy is a screening tool, not a diagnostic platform. The decision tree for a screening image is binary: refer for comprehensive evaluation, or monitor at next scheduled review. This keeps the clinical task simple and keeps the workflow fast.
The following findings on a smartphone fundus image should trigger referral for formal grading:
- ▲Any microaneurysms or dot haemorrhages — even a single definite MA changes the visit from routine monitoring to DR present, requiring formal grading and more frequent review.
- ▲Hard exudates near the macula — lipid deposits within one disc diameter of the fovea indicate clinically significant macular oedema risk; refer urgently.
- ▲Any new vessels — neovascularisation anywhere on the disc or elsewhere is proliferative DR. Same-week retinal referral.
- ▲Flame haemorrhages or cotton wool spots — suggest severe NPDR or concurrent hypertensive retinopathy. Formal grading required.
- ▼Clear view of disc and macula, no haemorrhages, no exudates — document and review at next scheduled diabetic review. The image is the reassurance, and the patient can see it.
The compliance effect: showing patients their own retina
One of the most consistent findings in diabetic eye care research is that patient education directly influences screening attendance and treatment compliance. Patients who understand their own fundus findings are significantly more likely to return for follow-up than those who receive only verbal explanations.
“When a patient with early NPDR can see their own microaneurysms on a phone screen, the conversation about glycaemic control and next-visit attendance changes completely. They are no longer taking your word for it.”
The live display on the phone screen during the examination turns a passive procedure into a shared observation. The patient watches their own fundus in real time. The captured image can be shown immediately after, saved to the consultation record, and — where appropriate — shared with the patient for their own records.
For a condition where follow-up compliance is directly linked to visual outcomes, this is a genuinely meaningful clinical benefit — not a marketing feature.
Making it routine: building DR screening into every diabetic visit
The most effective screening programmes are the ones that require no scheduling friction. The diabetic patient who is already in your clinic for a medication review should not need a separate appointment to have their fundus examined. Every additional step in the process is a dropout risk.
The practical conditions for making smartphone fundoscopy a routine part of every diabetic consultation are modest:
- › The device lives in the consultation room drawer, not a separate equipment room
- › The phone is already charged and in your pocket or on the desk
- › The room has a dimmer switch or a second light source that can be turned off independently
- › The examination is added to the consultation template as a routine item, not an optional extra
When these conditions are in place, fundus documentation at every diabetic consultation becomes as automatic as checking blood pressure. The first week requires active effort. By the fourth week, it is habit.
📷 Tap to see the Fundus Explorer Pro →
🔎 Is the Fundus Explorer Pro right for DR screening?
|
Best suited for
|
Keep in mind
|
The bottom line
Diabetic retinopathy is one of the most preventable causes of blindness in working-age adults. The clinical tools to detect it early exist. The barrier is not scientific — it is logistical. Smartphone fundoscopy, when the right device is available at the point of care, removes the most significant logistical barrier: the time and equipment cost of performing the examination at all.
A documented fundus image at every diabetic consultation is a higher standard of care than a deferred appointment that the patient may not keep. The Fundus Explorer Pro makes that standard achievable in any consultation room, with any smartphone, in under two minutes per patient.
Statistical references: IDF Diabetes Atlas, 10th edition (2021); WHO Global Report on Diabetes (2016); published validation studies cited include Russo et al. (2015), Rajalakshmi et al. (2015), Tan et al. (2020) and subsequent systematic reviews. Sensitivity and specificity figures represent ranges from published literature and should be interpreted in the context of individual study populations and methodologies. This article is intended for qualified eye care professionals and does not constitute clinical guidance.
